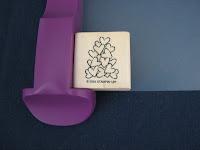
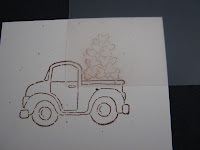
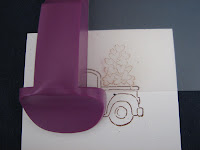
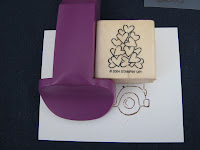
I have had a number of my customers asking about what the Stamp-a-ma-jig is and how you use it, so this is my basic step-by-step instructions on using this amazing tool. Once you have used it you will be hooked, so be careful ....
 3. With your plastic imaging sheet still snugly in the corner, ink up your hearts stamp, and then stamp onto your plastic imaging sheet (making sure that your stamp is also pressed into the corner)
 4. After you remove your stamp, you will have a stamped image on your plastic sheet. Move your plastic sheet around until your hearts are exactly where you want them to stamp in the back of the truck.
 5. Once you have your image exactly where you want it to stamp, then you can push your stamp positioner back into place up against the corner of your plastic imaging sheet.
 6. Remove the plastic imaging sheet, keeping the stamp positioner exactly where it was. Re-ink your hearts and you can stamp onto your cardstock (taking care that you keep the stamp tucked into the corner of your stamp positioner)
 7. Your hearts are now placed exactly where you wanted them and are ready for you to colour and finish your card! Great job!!!
Simply wipe your plastic imaging sheet with a tissue and a little Stampin’ Mist to clean it off ready to use again and again …
Finish off your card and you are ready to make someone's day by sending them a special note!


No comments:
Post a Comment